Guide · Site work
Kaldrix on your phone: check the project and record decisions
On site, you often need one detail: a room plan, the current file or a work stage. Open Kaldrix in your phone browser and choose the right project. The layout adjusts to the smaller screen.
1. Open the right project
Sign in through your browser and check the company and project name. Some links move into a menu on smaller screens. A missing tool may be caused by permissions or your plan, rather than screen size.
Check your internet connection and open the document you need before starting work. If you need a file copy on the device, download it from project documents and make sure you can open it.
2. Inspect the plan and model on site
In the 3D model, one finger rotates the view. Use two fingers to pan and zoom. Select a floor to focus on the relevant part of the building.
A phone is useful for quick location checks and opening documents. For detailed drawing with many elements, use a larger screen if it makes selecting points and checking dimensions easier.
3. Save details while they are fresh
Add a photo to the right project’s documents or to a project log entry, depending on its purpose. Describe the floor, location and what the image shows. A photo alone may be hard to interpret weeks later.
When entering hours or progress, check the day, stage and people. Wait for save confirmation. After a connection interruption, return to the list and check what was saved before repeating the same action.
Check before the next step
- Check the company, project and floor.
- Describe each photo or decision.
- Confirm saving before leaving the view.
Step-by-step exercise
Exercise: check a site detail and add a photo on your phone
What you will do
Find the same detail in 2D and 3D, add a sample photo and verify it after reopening.
Practice example
On your phone, open “Pavilion — training”. Find one door and the wall beside it, then add your own photo of a sheet saying “Training” to this site’s documents.
Prepare before you start
- A phone with a current browser and an internet connection. Do not assume all actions work without a connection.
- A training project with a recognisable floor, wall and door that you can view in Drawing.
- Permission to add project documents, available space and your own sample photo without people, addresses or customer data.
In the print window, choose Save as PDF if your browser provides that option. Check the page preview before saving.
Follow these steps
Open the right account and project
- Sign in through your phone browser and check the selected company or account.
- Open Projects and “Pavilion — training”. Check More if the section does not fit in the menu.
Expected result: The header shows the right project and the connection lets you read its data.
If you get stuck
Installing a home-screen icon is not required. If the project is missing, check the account and access instead of creating another project with the same name.
Find the door on the plan
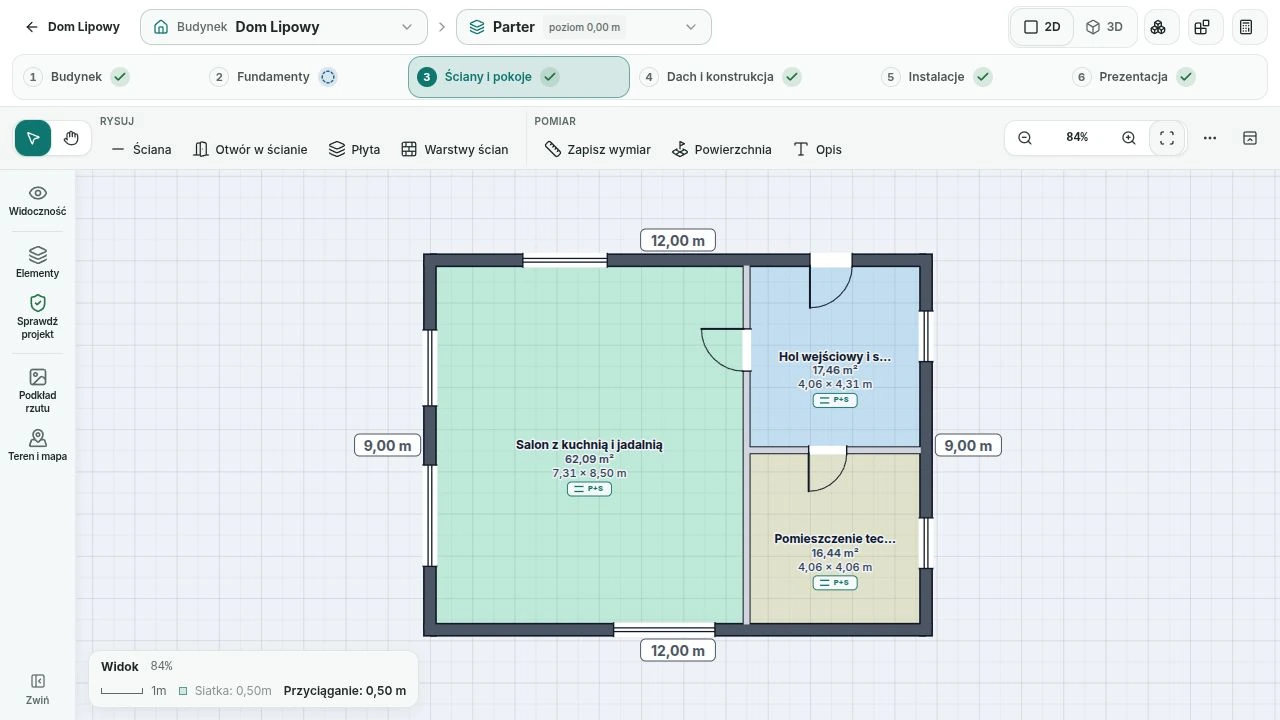
- Open Drawing → 2D and choose the right floor. Use Select / edit or Move view rather than an add tool.
- Use two fingers to position and zoom the view. Tap the door, check its details and identify the neighbouring wall without changing dimensions.
Expected result: You can identify the right door and wall on the same floor.
If you get stuck
If taps add elements, leave the tool and choose selection. For precise changes, zoom in and use dimension fields; your finger is not a measuring tool.
Compare the same detail in 3D
- Switch to 3D. Choose the same floor in the header rather than the whole project.
- Rotate with one finger; move and zoom with two. Find the same door and wall. If the view is slow, choose Auto or lower quality in View → Image.
Expected result: You can see the same detail in space without creating a separate copy of the model.
If you get stuck
If an element is missing, check the floor and visibility. Return to 2D if 3D does not work on this device; do not delete the project or model.
Add your own training photo
- Return to this project’s Documents, choose the Kaldrix drive and Photos category.
- Choose Add files and select the prepared photo from your phone. Give it a clear name, keep the extension, choose Send files and wait for Done.
Expected result: The sample photo is saved in the right project’s documents.
If you get stuck
Do not choose a customer photo or private people. For HEIC, wait for the photo to be prepared for preview. Read any error before sending again.
Open the photo and check its details
- Find the photo by name and open its preview.
- Check the “Training” text, project name and category. If its description needs changing, edit the existing file rather than adding a copy.
Expected result: The photo is readable and clearly belongs to the intended project.
If you get stuck
An empty list can come from a filter or selected drive. After a connection interruption, check whether the file was saved before adding it again.
Reopen the project and verify the result
- Return to the project list and reopen Pavilion. Check the floor and saved photo.
- Note the floor and file names as your exercise result. Sign out when using a shared phone.
Expected result: You can still find the right model and photo after reopening, rather than relying on the previous screen.
If you get stuck
If saving is uncertain, restore the connection and inspect the list before repeating an action. A visible screen does not guarantee the latest change was saved.
Check your work
- You recognise the same door and wall in 2D and 3D on the right floor.
- The sample photo is readable, named and saved in the right project.
- You can find the data again after reopening, without duplicate files or assuming offline use.
Common obstacles
I cannot see a button I know from the computer.
Check More, the current view’s menu and the project’s bottom bar. Available actions still depend on your permissions.
The model is slow on my phone.
View one floor, lower image quality and close other 3D tabs. Not every phone provides the same performance.
After losing the connection, I do not know whether the photo was added.
Reconnect and check documents by name and sending status. Retry only after confirming the file is absent or the earlier attempt failed.
Next exercise: From a 2D floor plan to a 3D model: start a project →